How to Use TracME

Choose which TracME Movement Tracking sleeve you have.

Sleeve Type
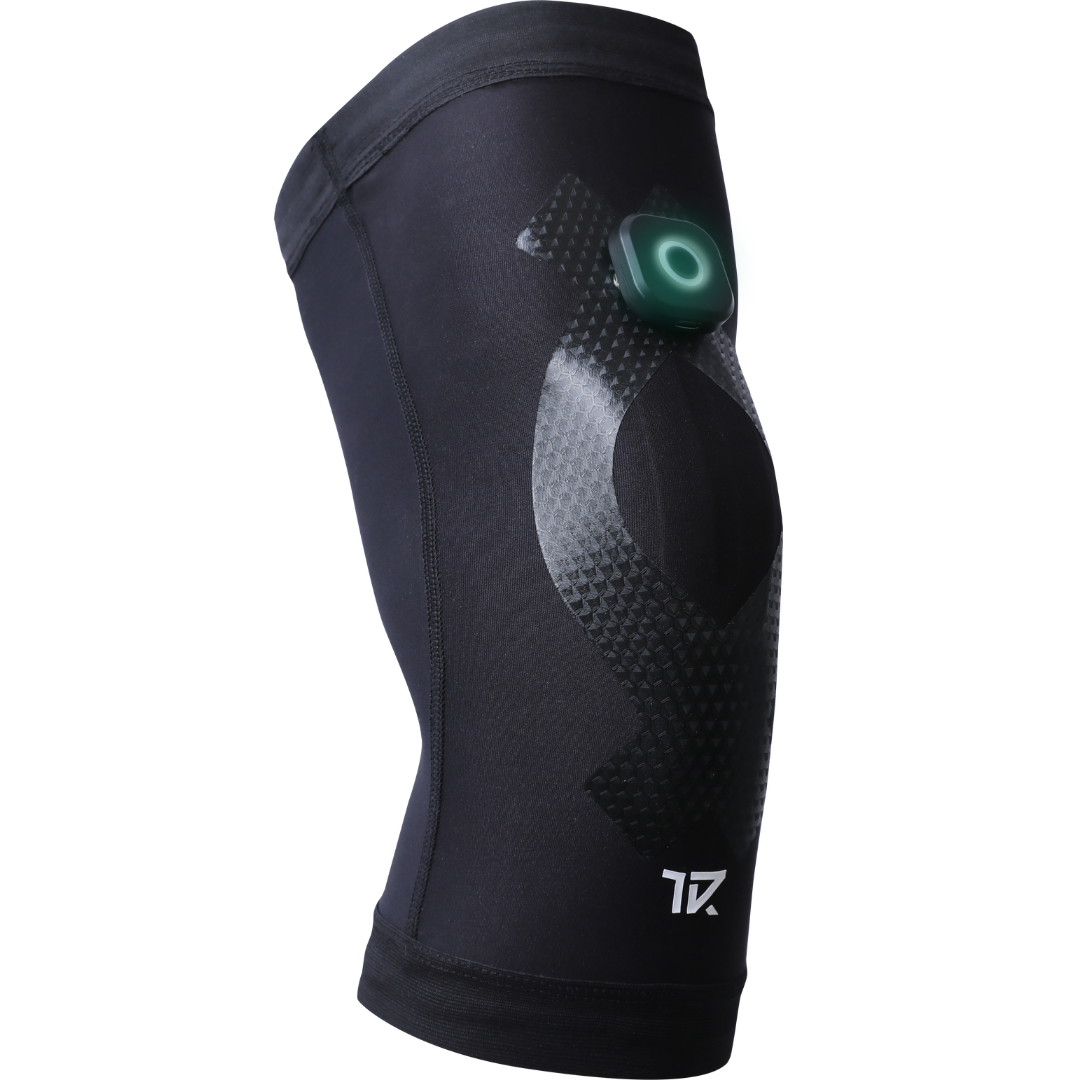
Velcro Type
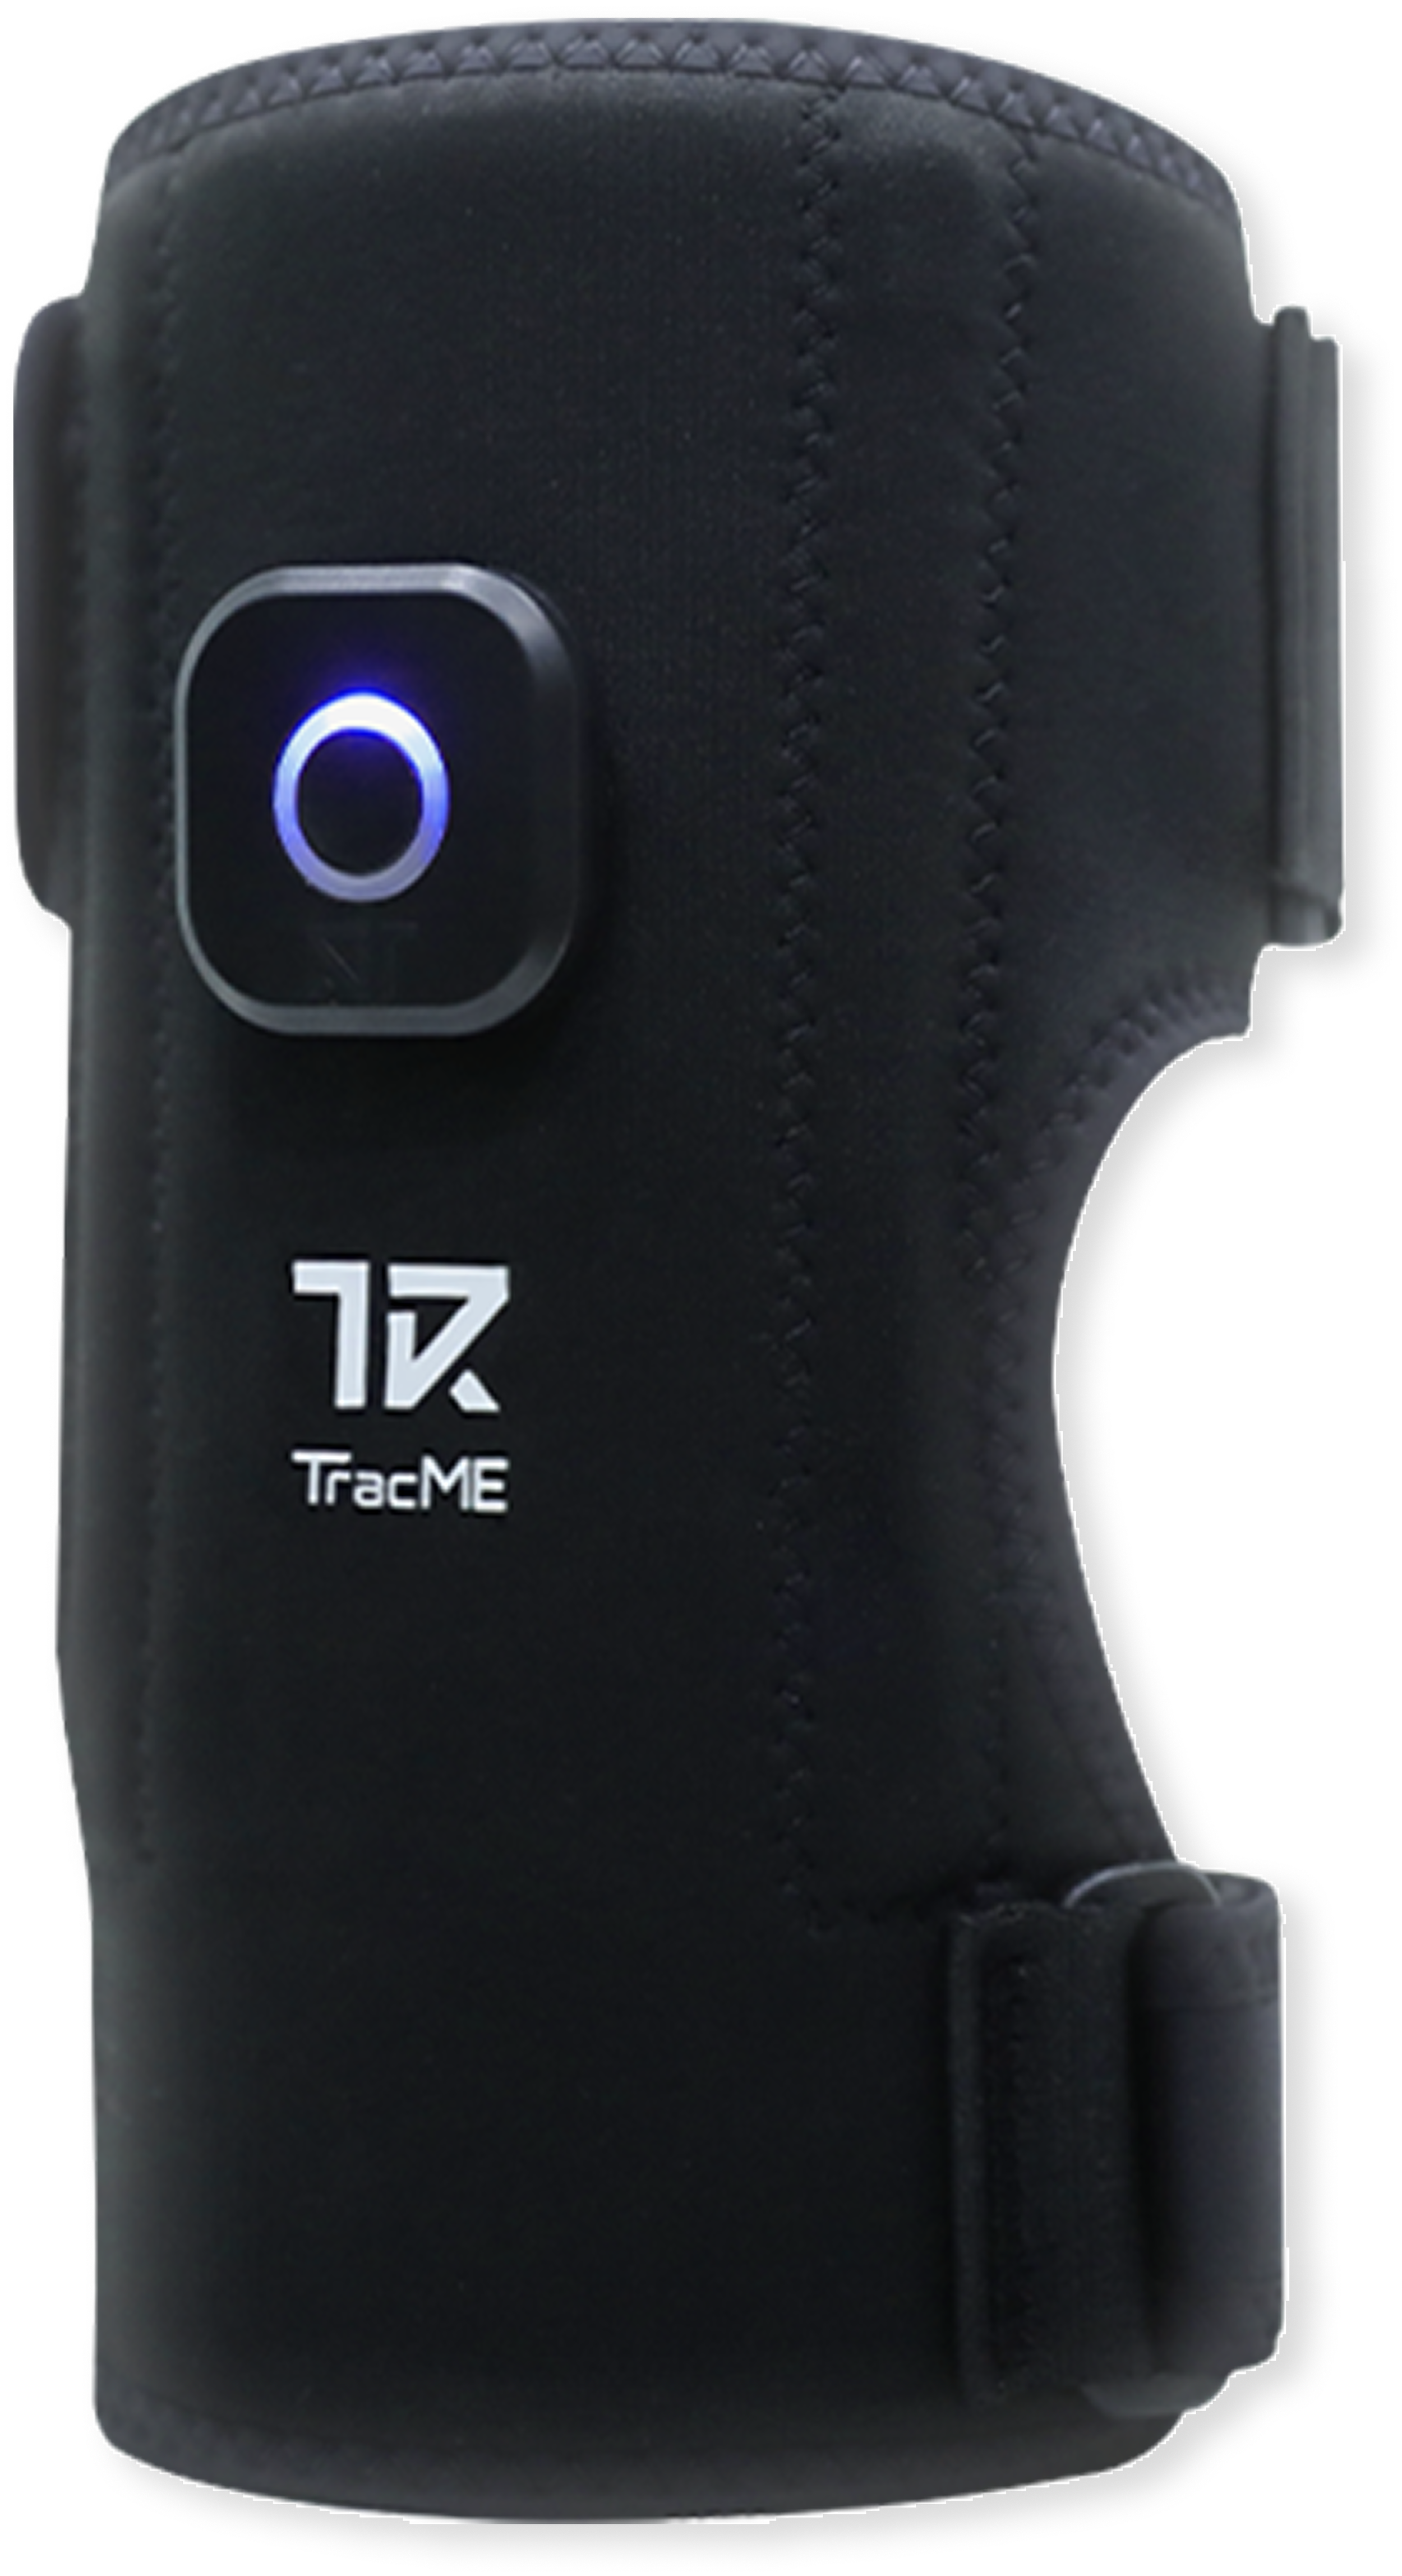
Black TracME knee sleeve with a glowing teal sensor button and the TracME logo, shown on a white background.

Sleeve Type

STEP 1

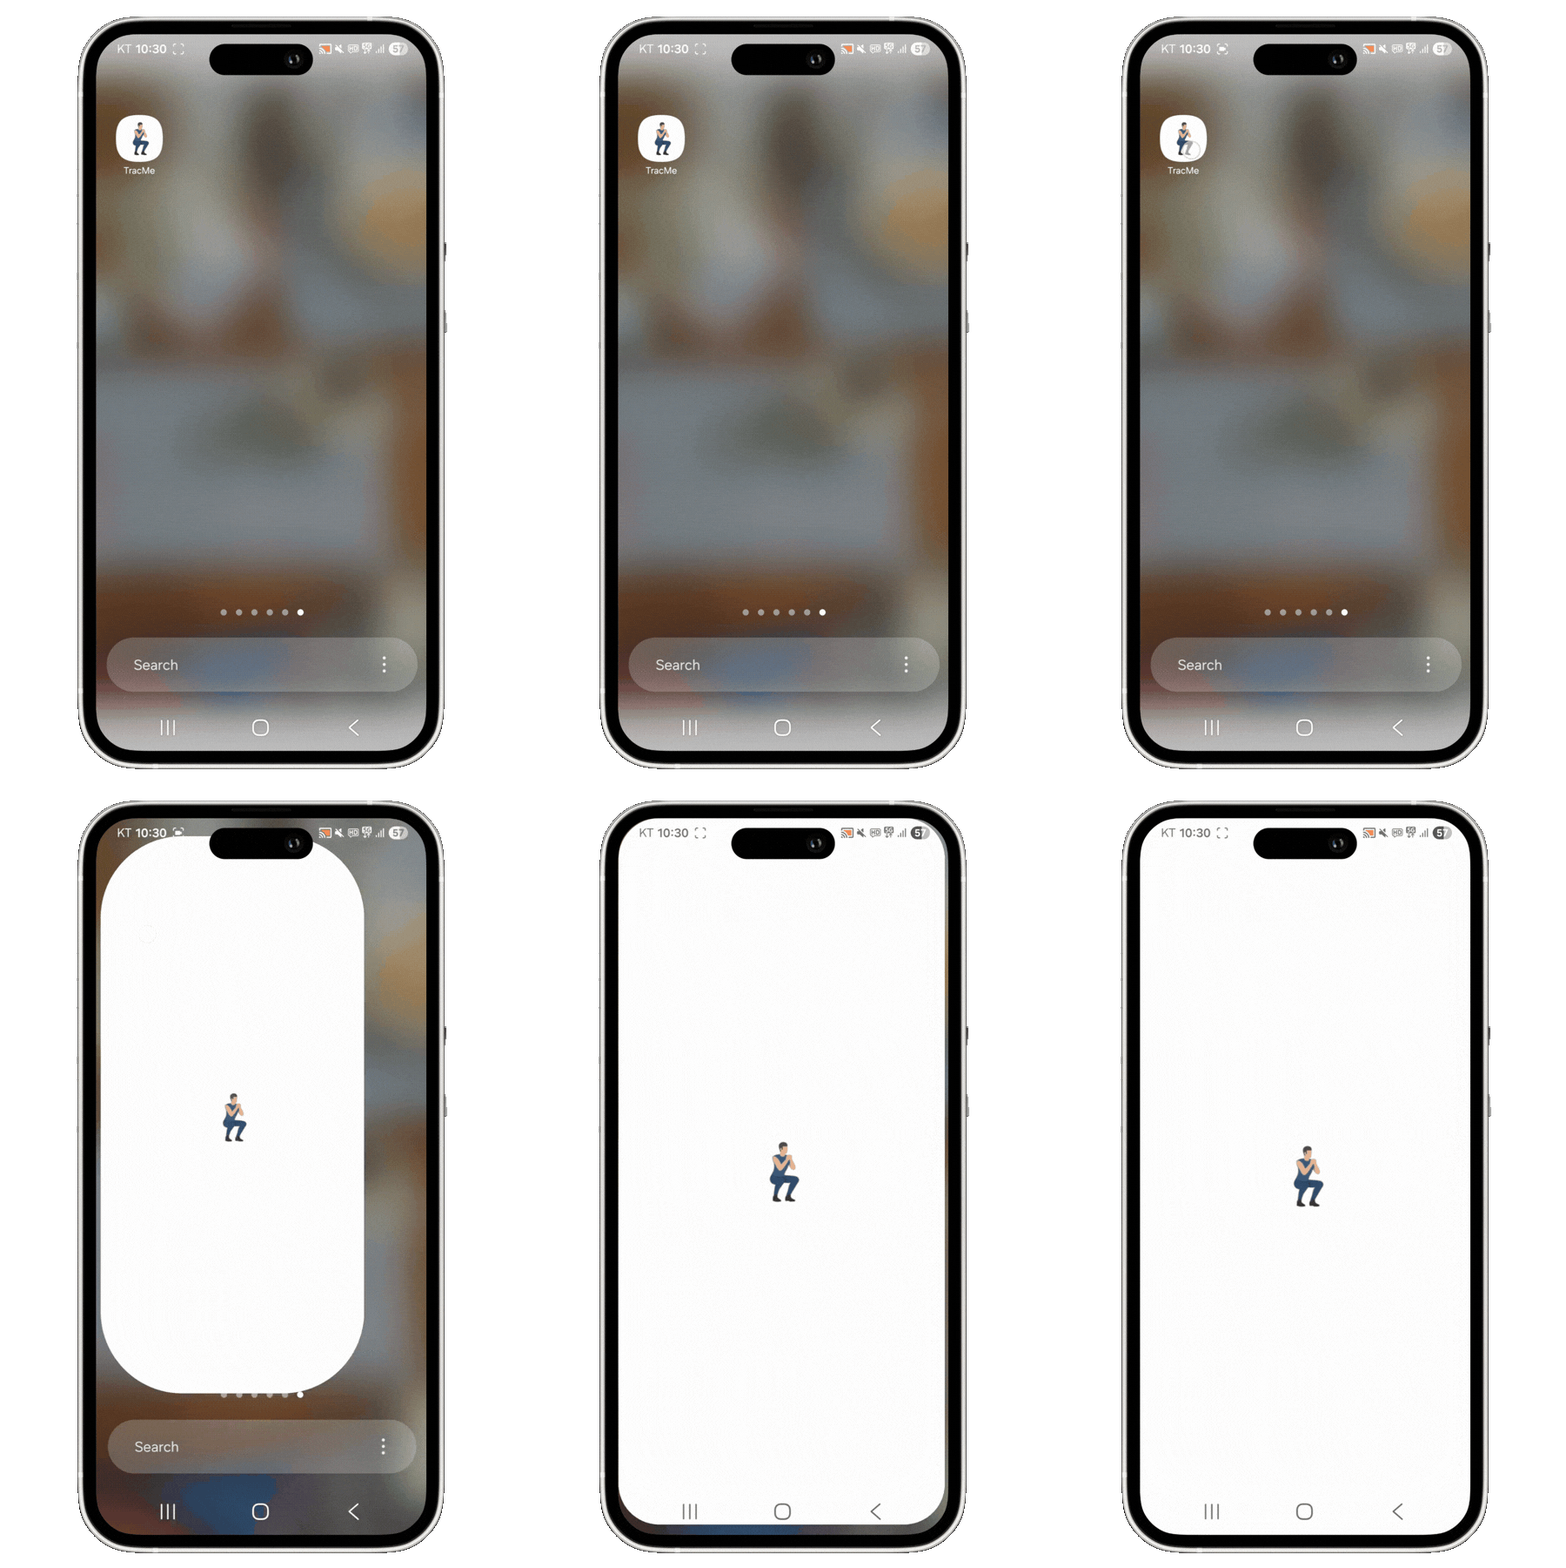
Download the TracMe App
Sign-up and explore

Sleeve Type Menu

If the TracME App is unavailable in your country, please get in touch with us here. It will take one business day to go live.

Currently available languages are: English, Korean

STEP 2

Fully Charge the TracME Devices (USB-C)

TracME Devices are partially charged when shipped, however in some cases they may be very low on battery.

Takes 40minutes to fully charge.

Four black electronic devices with circular indicator lights connected to cables are placed on a white cushioned surface.

STEP 3

Wear the Sleeves

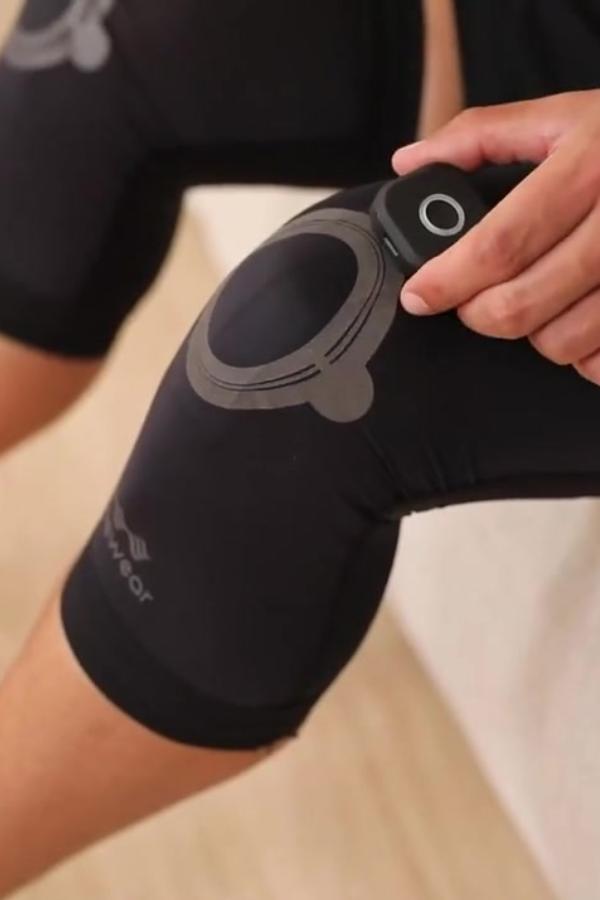
- Align your knee cap/ elbow in the center of the circle design

This placement is best for the sensor to read your movement.

If you touch inside the sleeve, you can feel the sensor inside. Placing your joint in the center of the circle design provides optimal placement for accurate movement readings.

Close-up of a person's arm with a black arm sleeve and a black device worn on the elbow, possibly a therapy or fitness gadget.

STEP 4

Connect the Devices to the App via Bluetooth

1. Go to the Exercise tab

2. Click “Connect Devices.”

TracME app home screen with a workout prompt, device connection button, and the Basic Cardio Stamina routine.

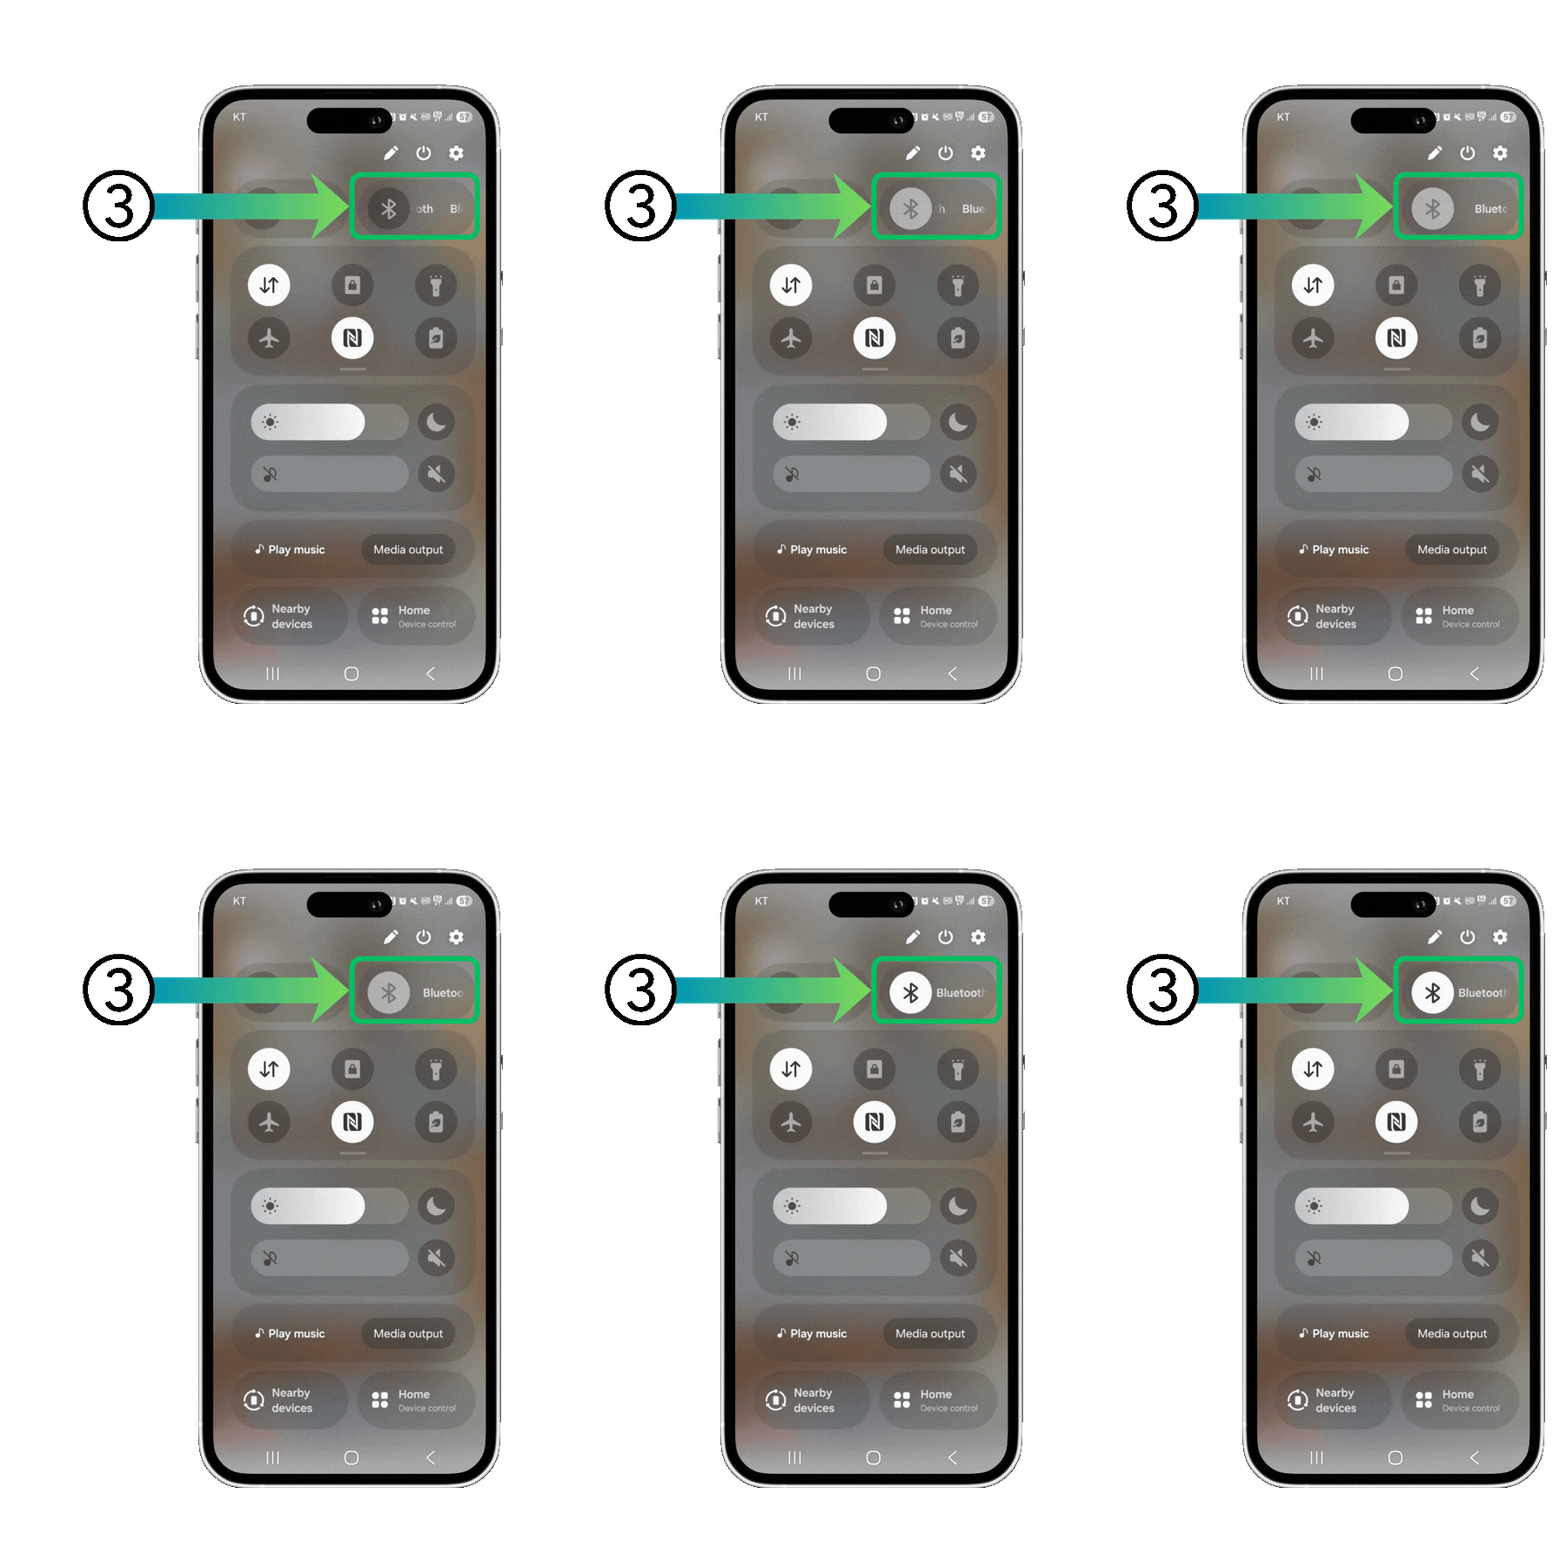
3. Turn on your phone’s Bluetooth

Close-up of a smartphone screen displaying the quick settings menu. A green arrow points to the Bluetooth icon, illustrating how to enable Bluetooth on the device.

4. Turn on the devices by holding the center button for 5 seconds.

If the light blinks blue, it is in pairing mode.

A person wearing a black arm brace with a circular light on the front, which appears to be a wearable device or therapy equipment, on a grey background.

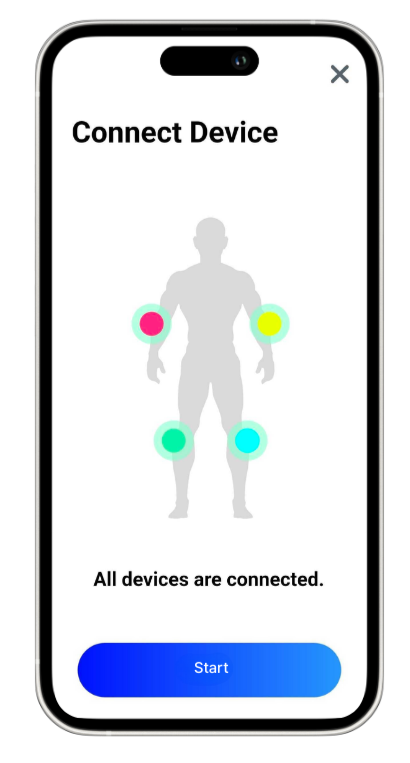
When all four devices
are connected

A smartphone screen with a fitness app connect device page, showing four human body parts with colored dots indicating connected devices, and a blue Start button at the bottom.

You can also exercise only the lower or upper body

Mobile phone screen displaying a 'Connect Device' setup page with a human silhouette, Bluetooth connection indicators, and instructions to turn on Bluetooth.

STEP 5

Attach devices to the sleeves

STEP 6

Callibration Process

What is callibration?

Once the Devices are connected, we will go on to the Callibration process.

This is for the sensor inside to read your unique movement and match it to the movement data in our system.

Before each session, we will ask you to do calibration.

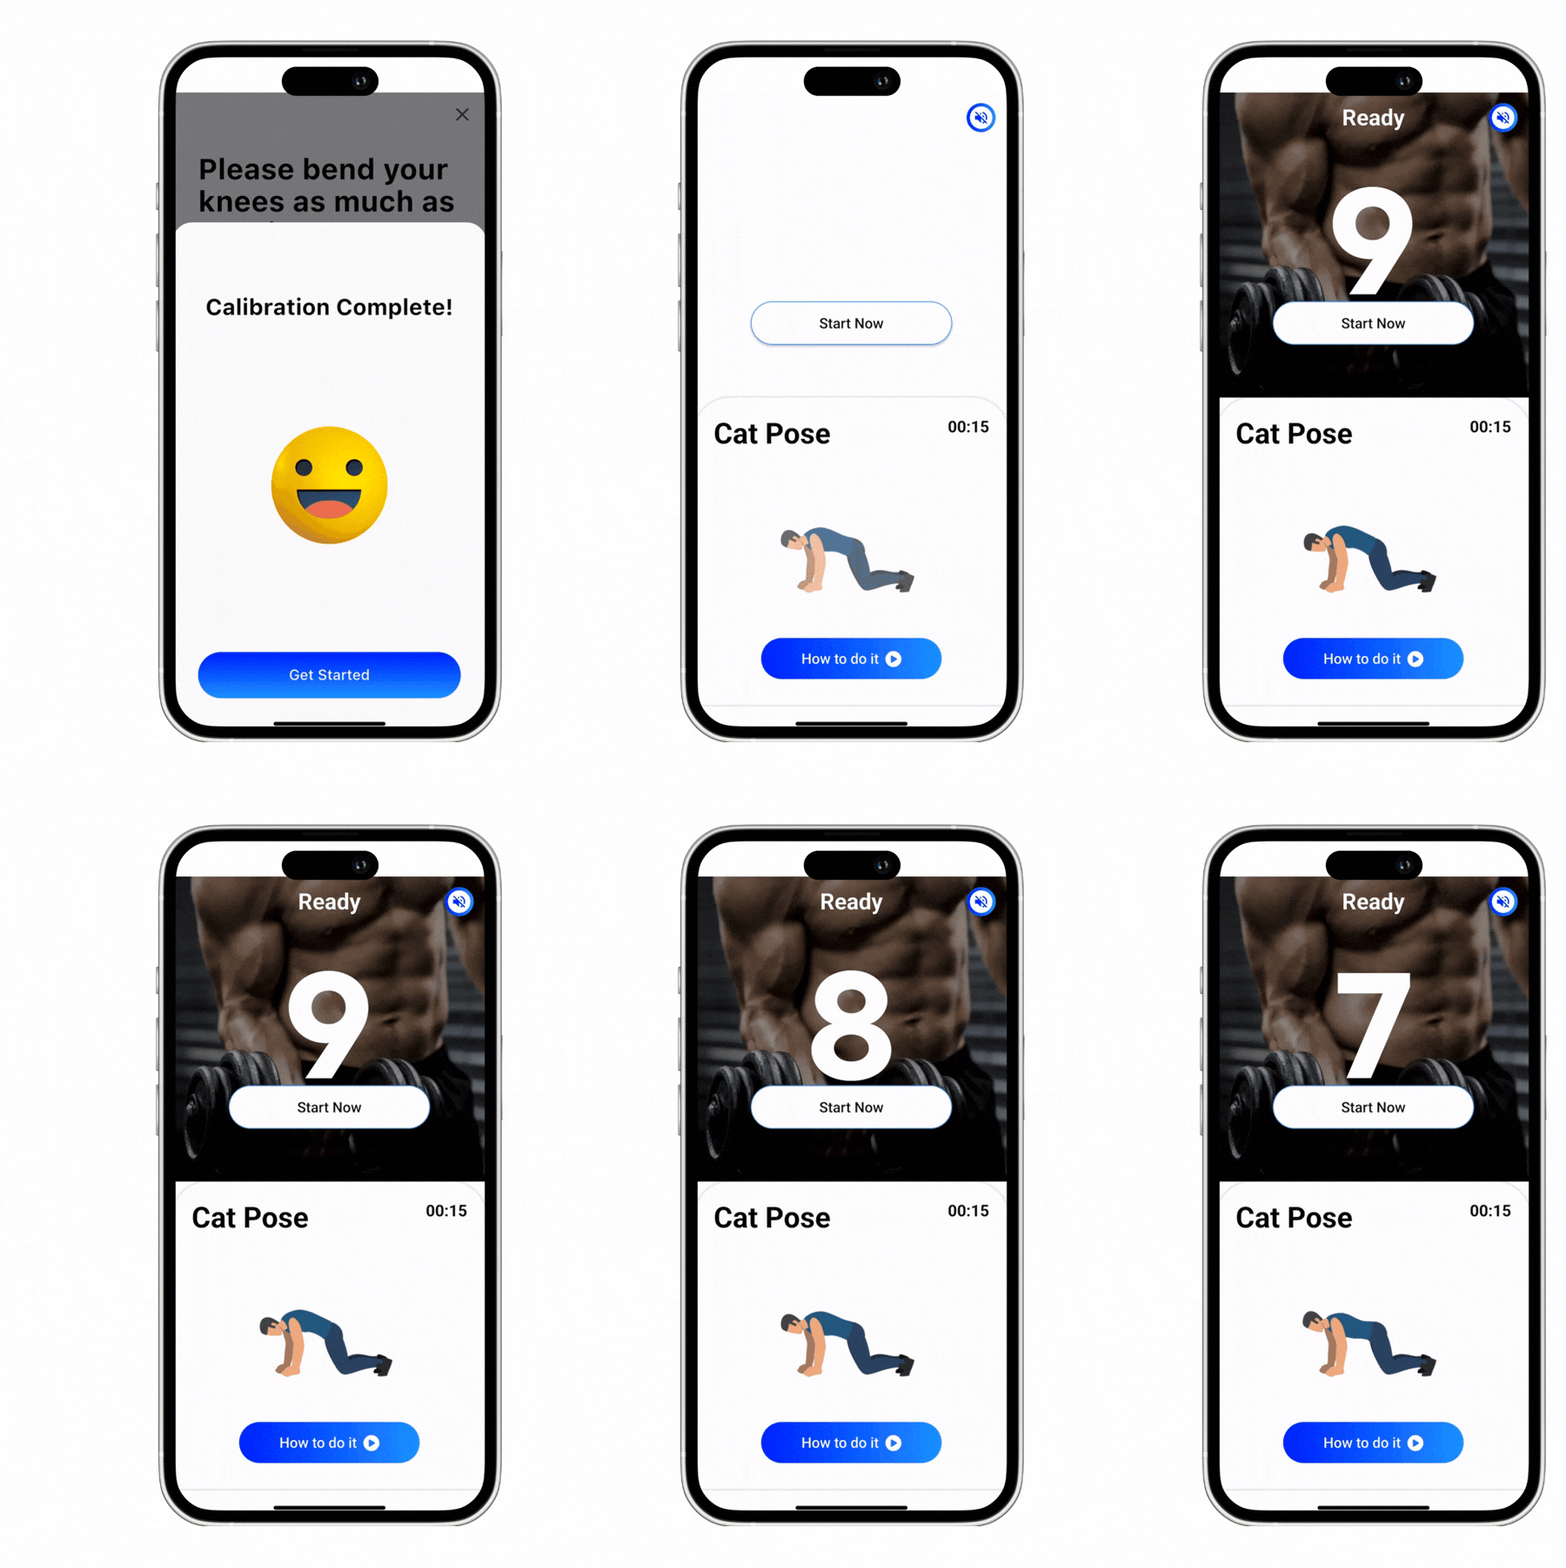
Smartphone screen showing an exercise instruction to bend knees as much as possible, repeat three times, with an illustration of a man standing with arms crossed, and a progress bar at the bottom.

STEP 7

Start your Workout!

Smartphone screen displaying a calibration app with a message 'Calibration Complete!', a smiling emoji, and a blue 'Get Started' button.

Learn More Updates and News

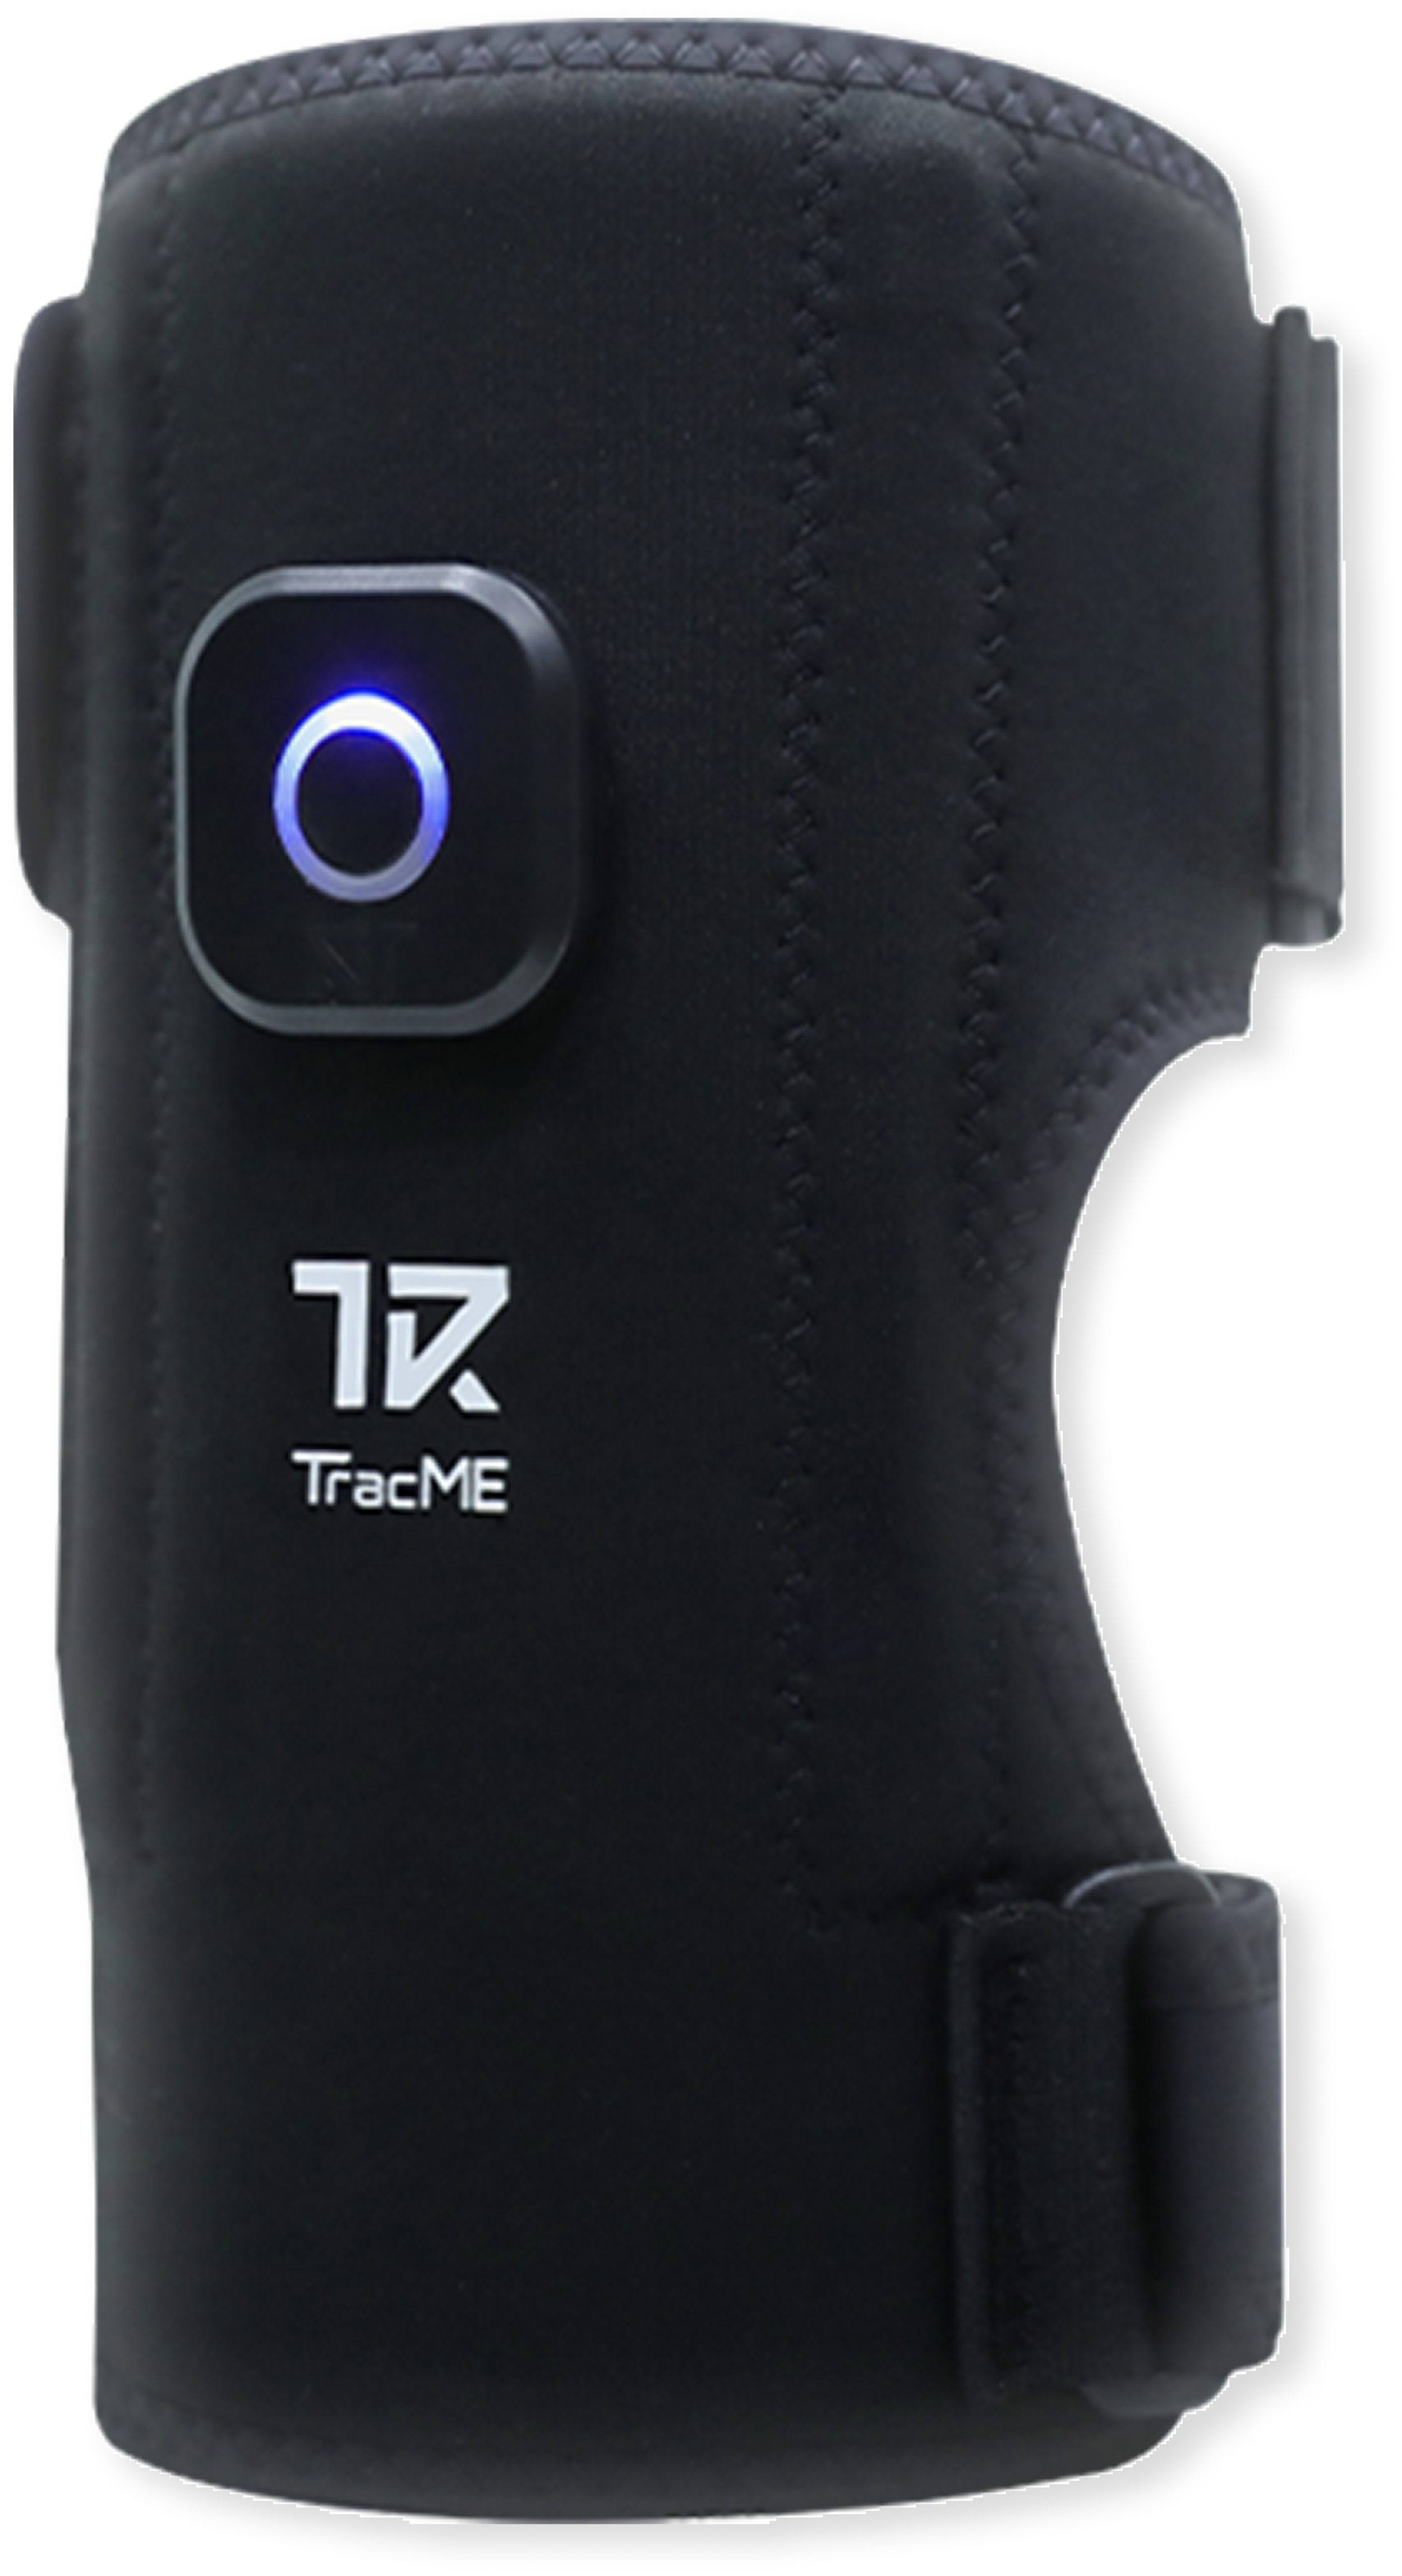
TracME smart knee sleeve extended flat, showing its adjustable strap, sensor button, and logo.

Velcro Type

Velcro Type Menu
STEP 1

Download the TracMe App
Sign-up and explore

If the TracME App is unavailable in your country, please get in touch with us here. It will take one business day to go live.

Currently available languages are: English, Korean

STEP 2

Smartphone home screen with the TracME app icon.

Fully Charge the TracME Devices (USB-C)

TracME Devices are partially charged when shipped, however in some cases they may be very low on battery.

Takes 40minutes to fully charge.
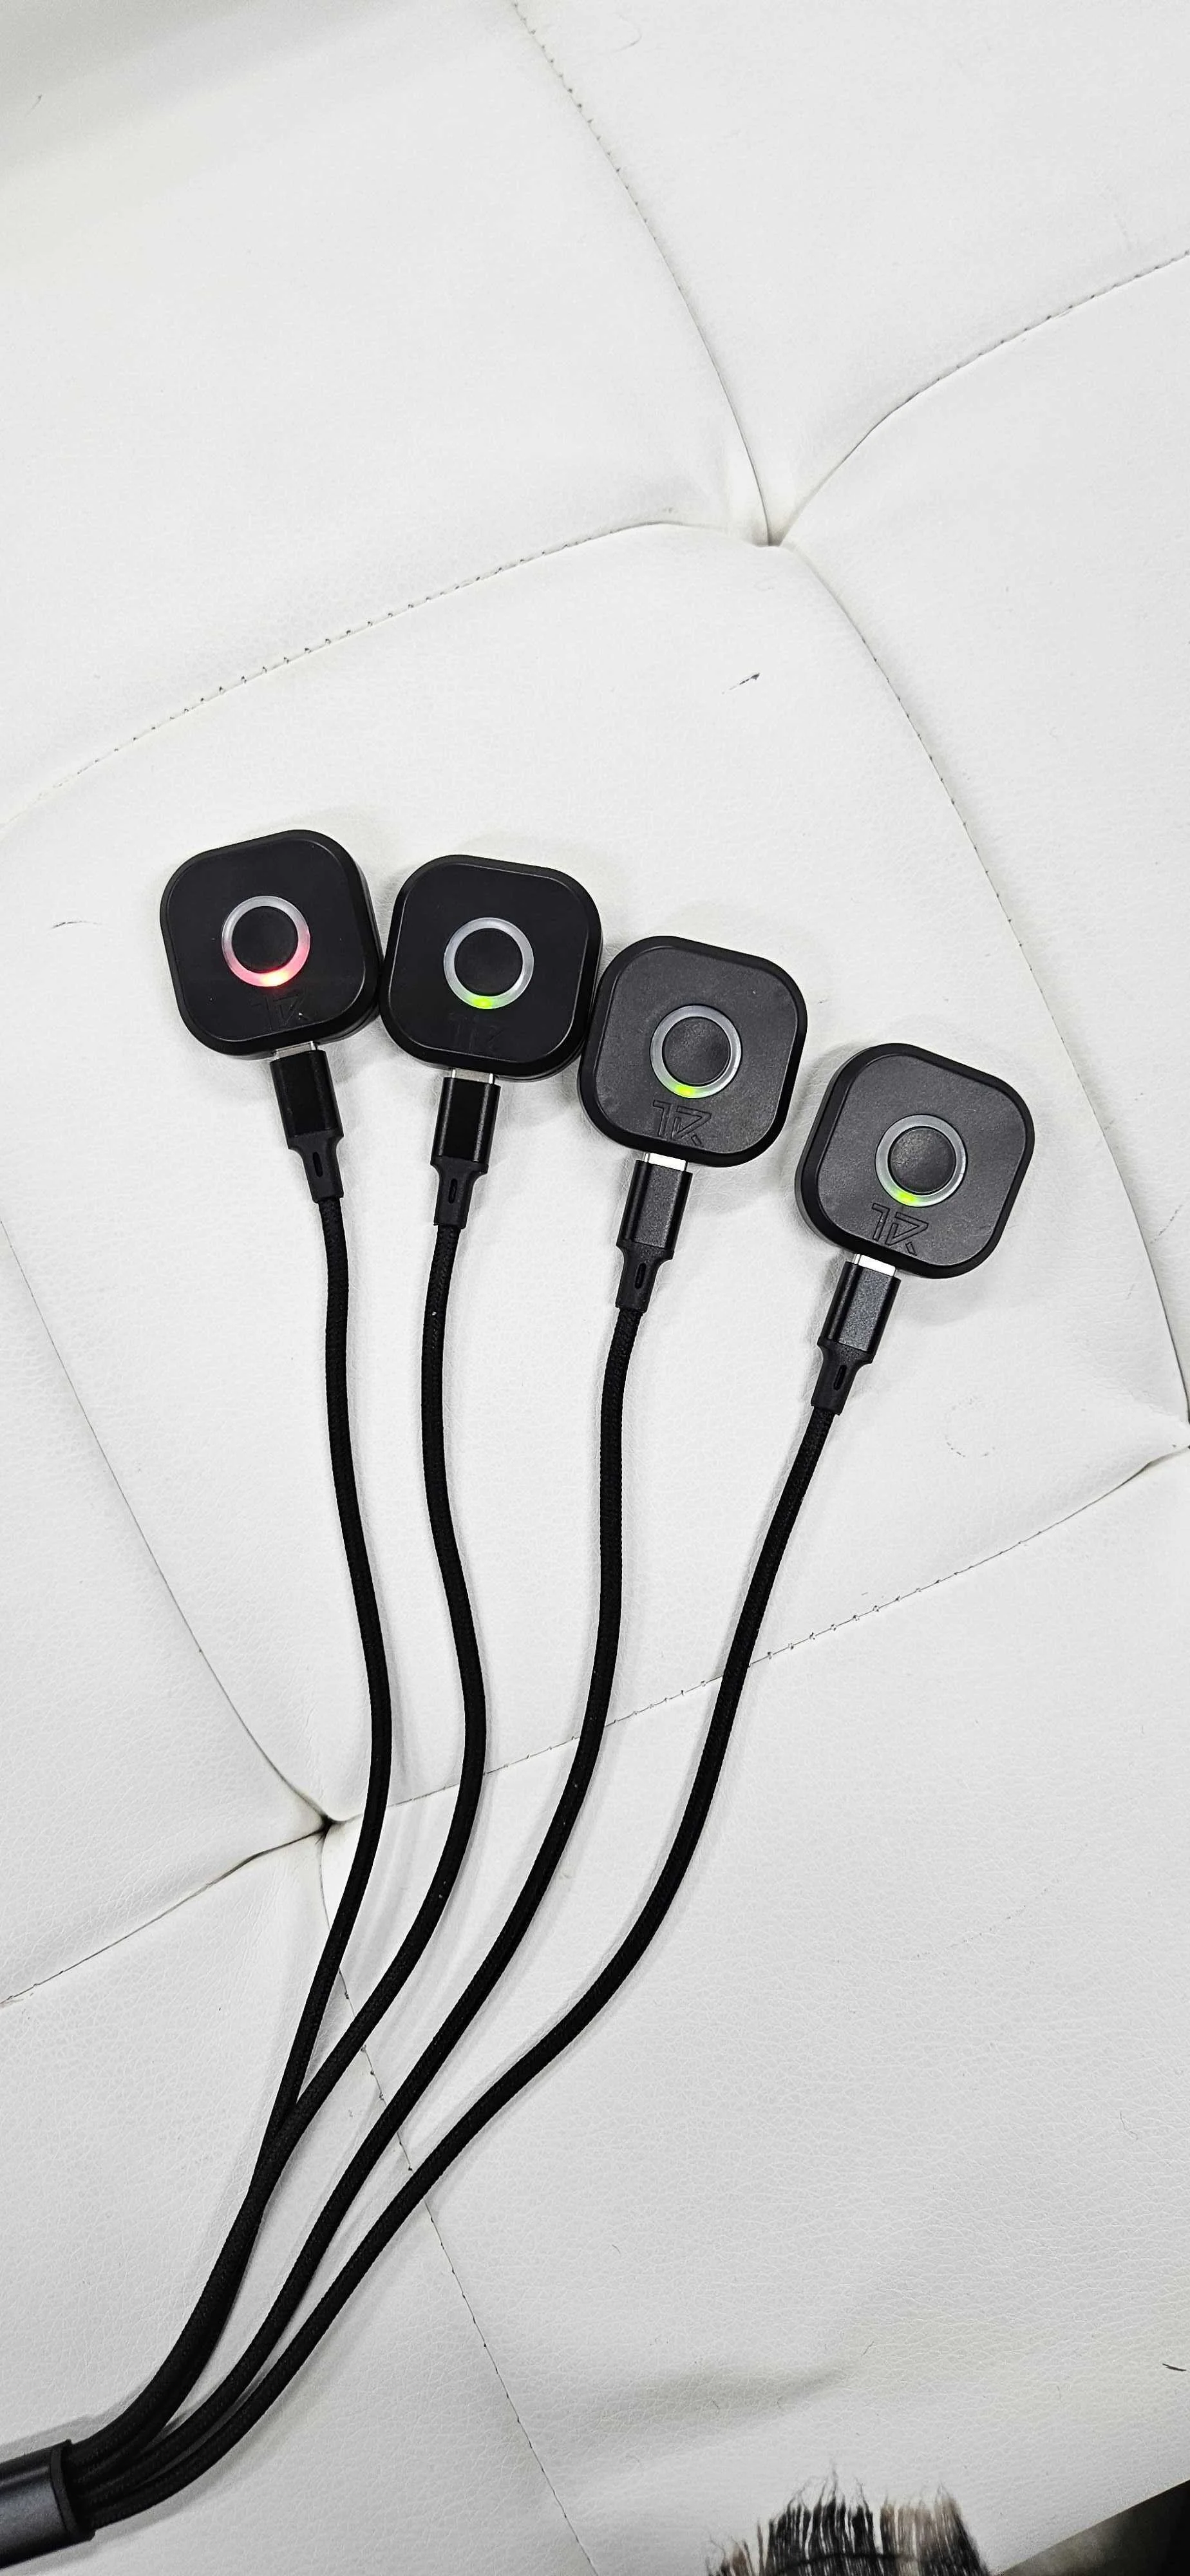
Four black cables with square-shaped connectors lying on a white cushioned surface, with one connector showing a red or green LED light.

STEP 3

Connect the Devices to the App via Bluetooth

1. Go to the Exercise tab

2. Click “Connect Devices.”
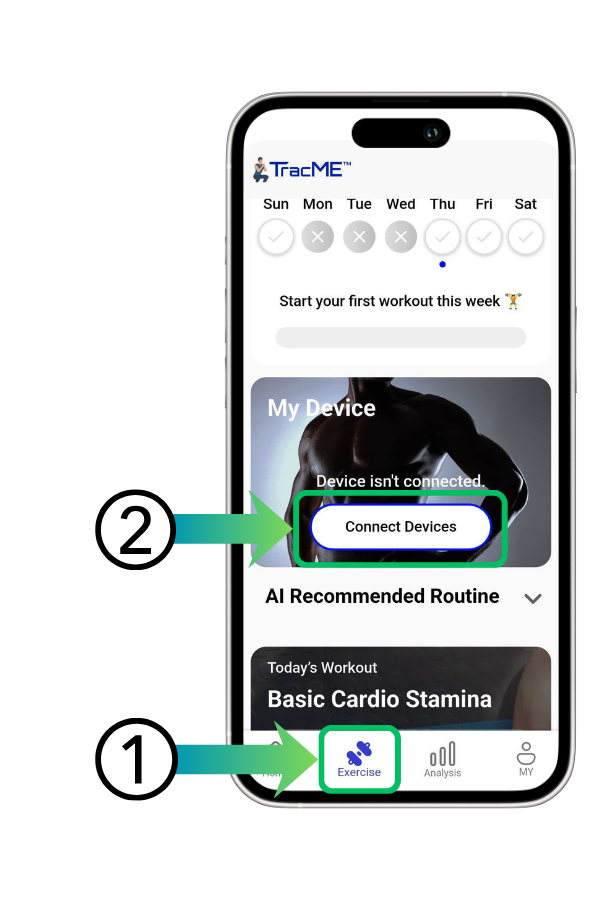
Smartphone displaying a fitness app with a schedule at the top, a 'Connect Devices' button in the center, and an 'Exercise' icon at the bottom left.

3. Turn on your phone’s Bluetooth

Smartphone screen displaying quick settings menu with Bluetooth icon highlighted, an arrow pointing to it, and a label with number 3.

4. Turn on the devices by holding the center button for 5 seconds.

If the light blinks blue, it is in pairing mode.
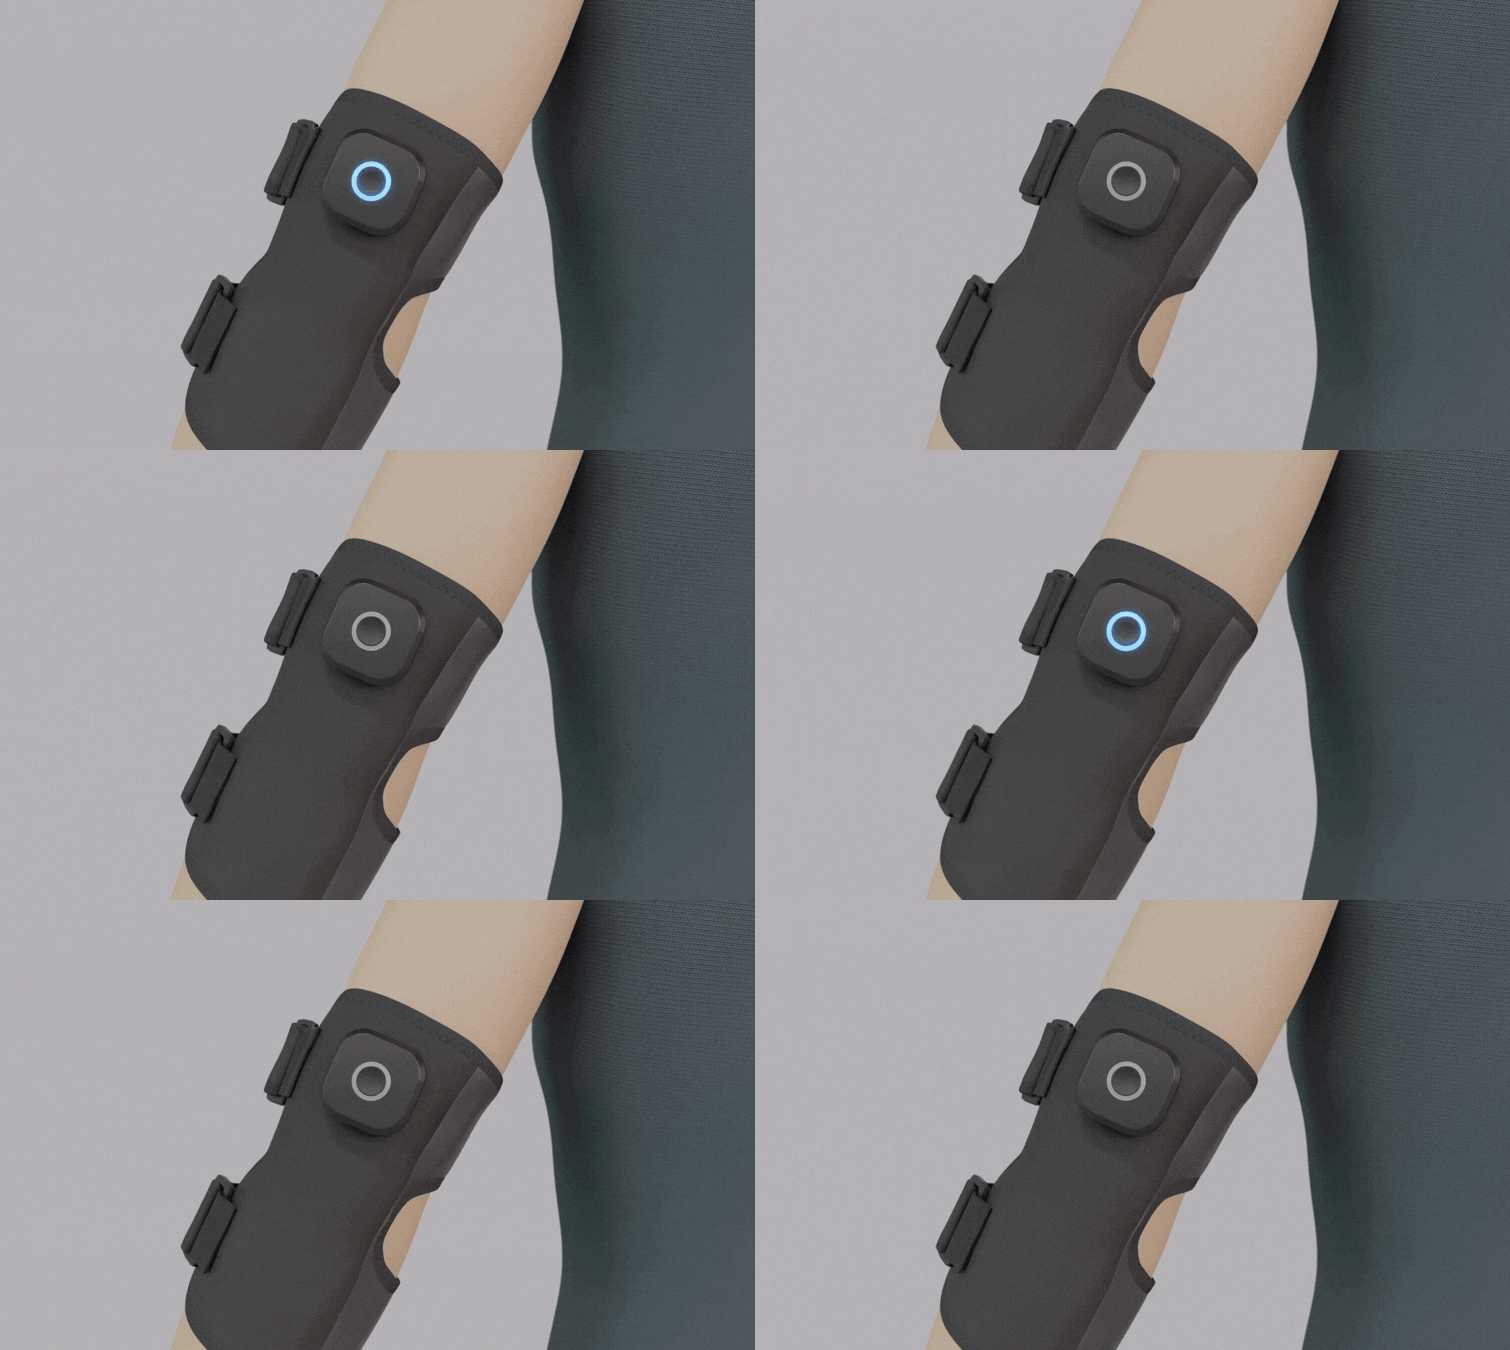
Person's arm wearing a black TracME elbow sleeve with a glowing sensor button on the strap.

When all four devices
are connected

App screen showing all four body sensors connected, displayed on a body diagram with a Start button below.

You can also exercise only the lower or upper body
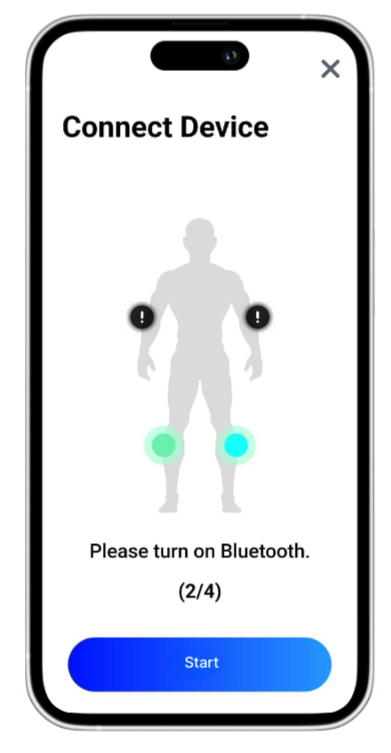
App screen prompting to turn on Bluetooth, with connection status on a body diagram (2 of 4 connected).

STEP 4

Attach Devices to Sleeves first and then wear

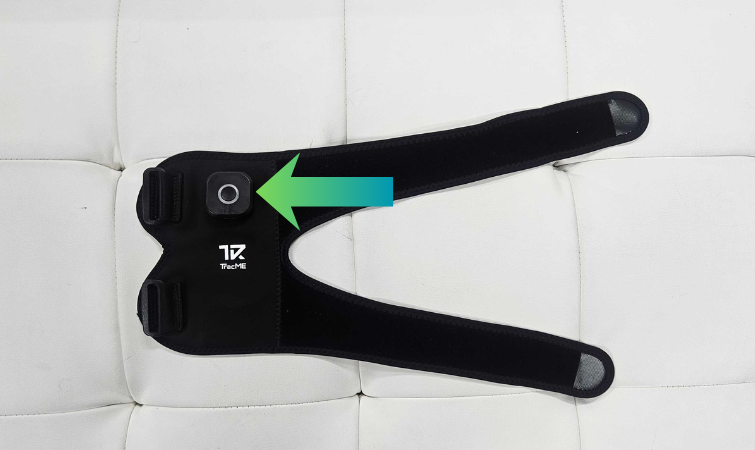
1. First attach the devices to the sleeve

Unfolded TracME knee sleeve on a white surface, with an arrow pointing to the sensor button and logo.

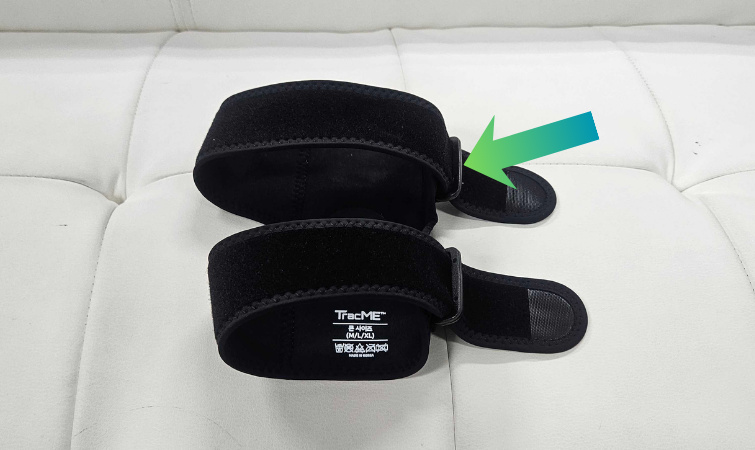
2. Loop both of the straps inside the buckles

Folded TracME sensor sleeve on a white surface, showing the product label and an arrow pointing to a strap attachment.

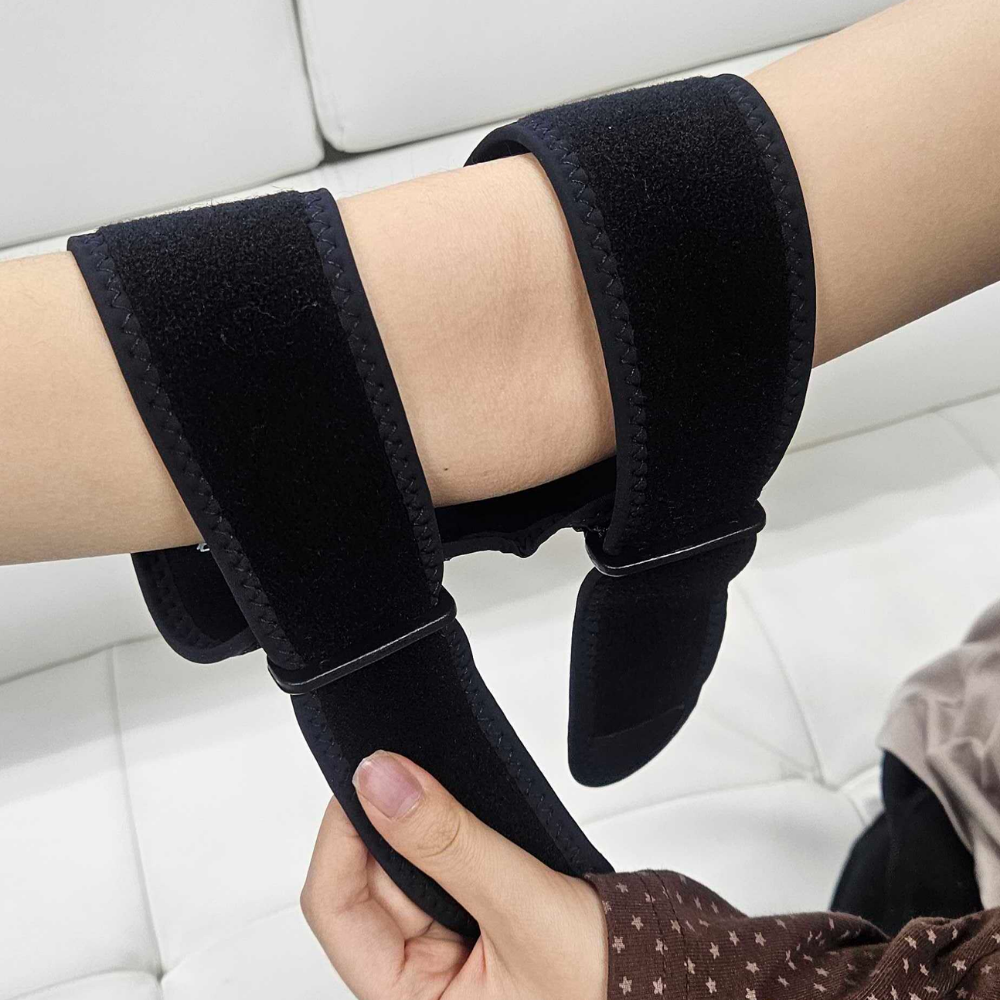
3. Wear on your knees/elbows - it is easier when buckles are looped beforehand

Person fastening a black TracME sensor sleeve around their forearm while seated on a white couch.

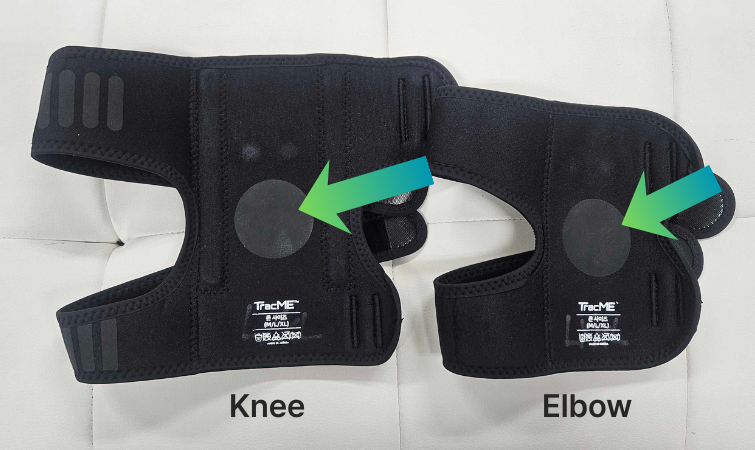
4. When wearing, make sure the inside circle is placed where your joints bend

TracME knee and elbow sleeves side by side, each labeled with an arrow pointing to its sensor pad.

STEP 5

Callibration Process

What is callibration?

Once the Devices are connected, we will go on to the Callibration process.

This is for the sensor inside to read your unique movement and match it to the movement data in our system.

Before each session, we will ask you to do calibration.
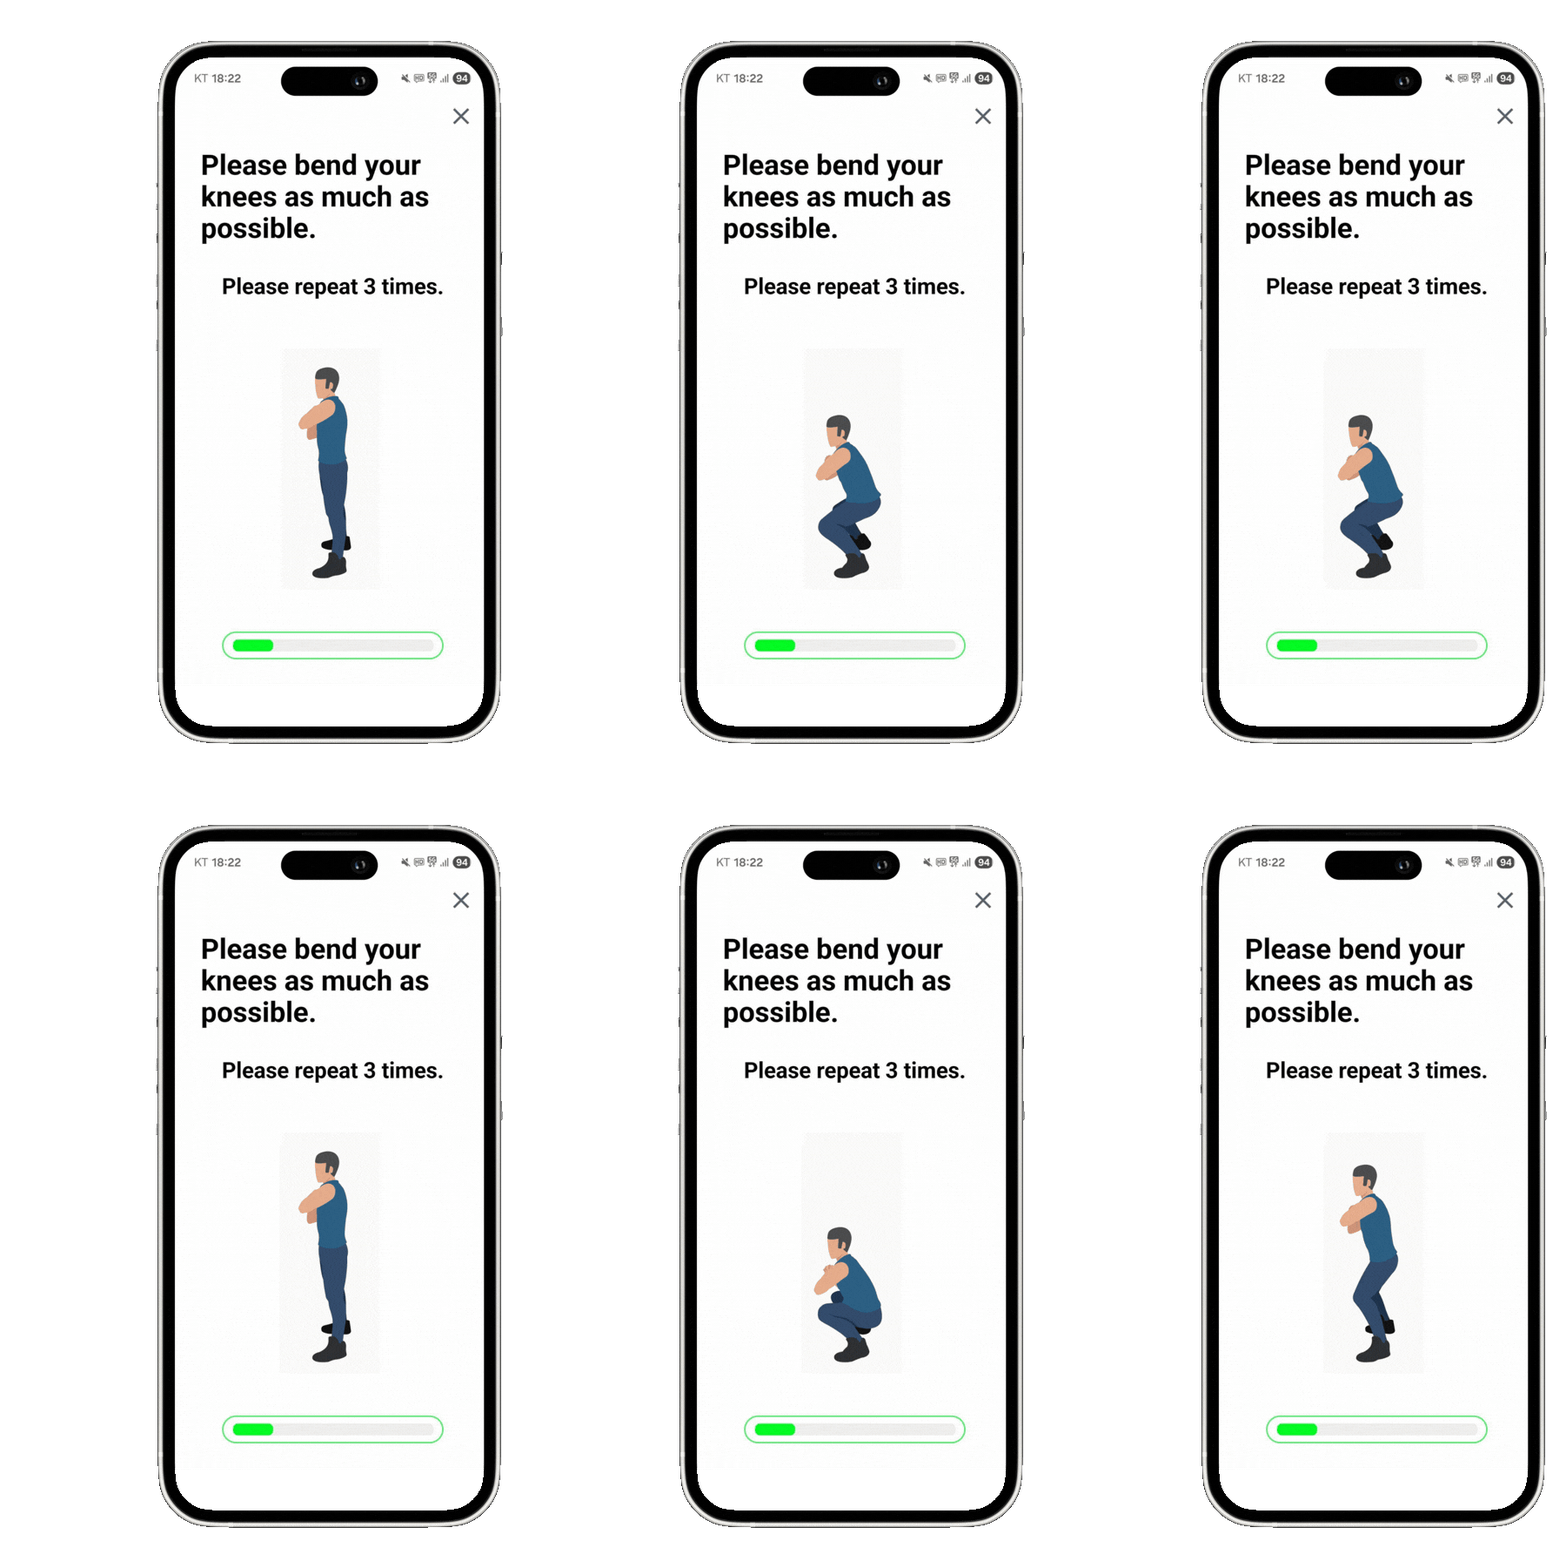
Exercise app screen instructing the user to bend their knees fully, repeated three times, with an animated figure.

STEP 6

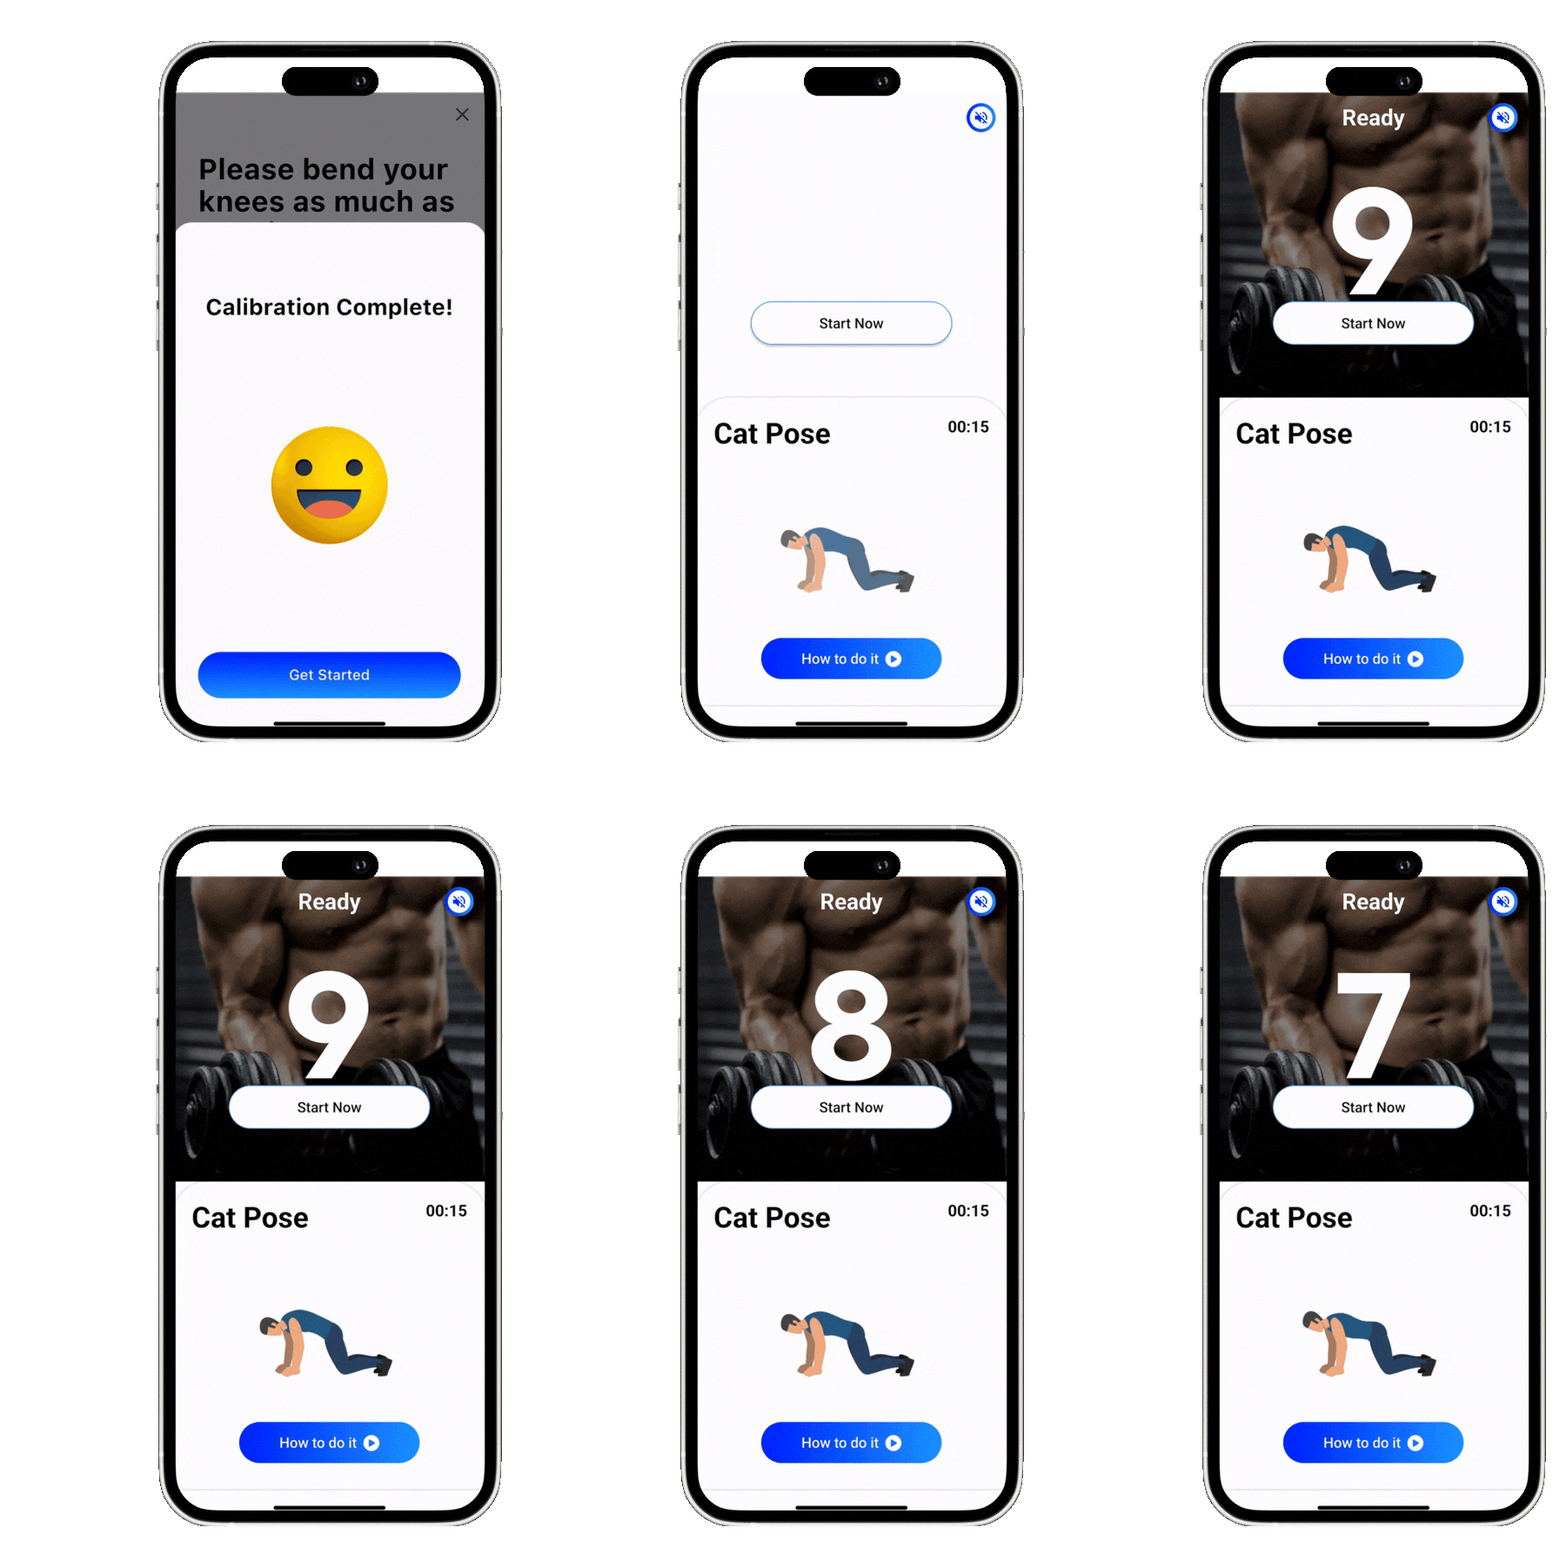
Start your Workout!

App screen showing 'Calibration Complete!' with a smiling emoji and a Get Started button.

Learn More Updates and News